(Updated: 30 March 2016 – This is a legacy version of our tutorials. For the latest tutorials of SEOPressor Connect, please visit seopressor.com/tutorials/)
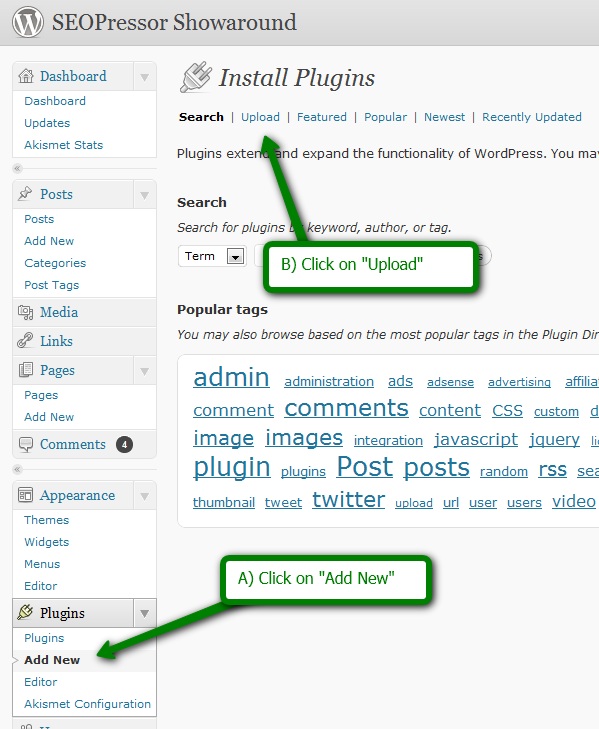
Login to your WordPress dashboard, go to “Plugins > Add New”.
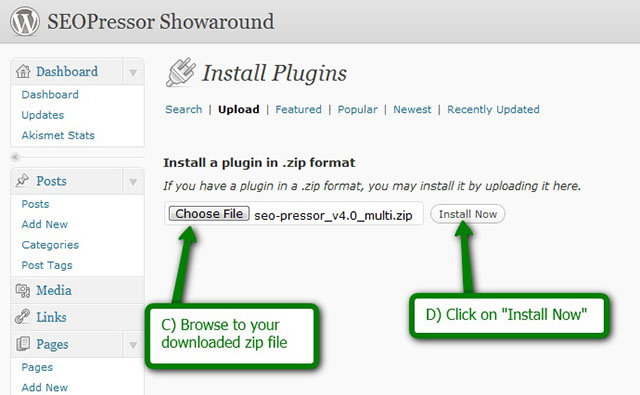
Click on “Choose File” and browse to the location where you downloaded SEOPressor. Select the ZIP file. Click on “Install Now”
Note: When you download, SEOPressor comes in a ZIP file. There is no need to unzip. All WordPress plugins are in the format of a zip file. Just upload the whole zip file following the above instructions. If you are using a Mac, sometimes, depending on your Mac settings, Mac can unzip the files automatically. What you need to do is just archive the unzipped folder back and upload. If you need help, kindly contact our support desk.
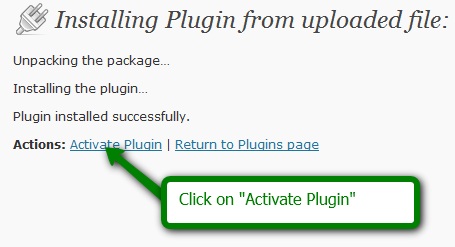
That’s all you need to install your SEOPressor!
Next, we will be learning how to use Keyword decorations.
Subscribe and receive exclusive insider tips and tricks on SEO.
Delivered to you right from the industry’s best SEO team.
Copyright © 2024 SEOPressor. All Rights Reserved.
Powered by Semantics BigData Analytics (SBDA).