(Updated: 30 March 2016 – This is a legacy version of our tutorials. For the latest tutorials of SEOPressor Connect, please visit seopressor.com/tutorials/)
Tutorial Objectives
Meta tags, such as keyword and description are mostly read by Google crawlers to help determine what a page is “about”, so these play large importance on SEO also.
But how do we insert them?
SEOPressor V5 has settings that will help you insert them, even if you don’t know html. This is where I show you how it’s done.
Meta keywords are basically the essential key points that your article is talking about and helps rank it better in result pages.
Meta keywords should be minimal, SEOPressor V5 has a fixed three keywords if you opt for its settings, which should be more than enough in juicing up your on-page SEO.
This is how you configure it:
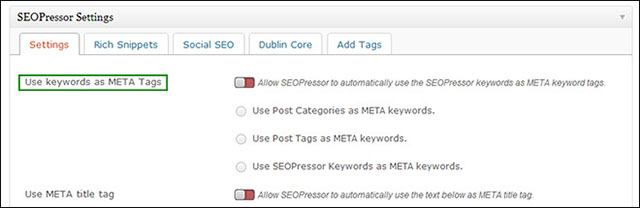
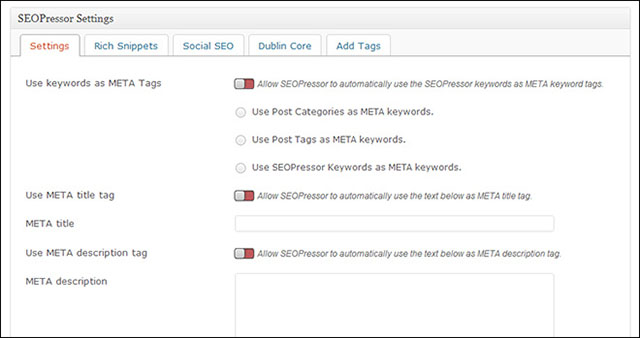
Under “Use Keywords as META Tags”, click on “Allow SEOPressor to automatically use the SEOPressor keywords as META keyword tags”. It should look something like the screenshot below:
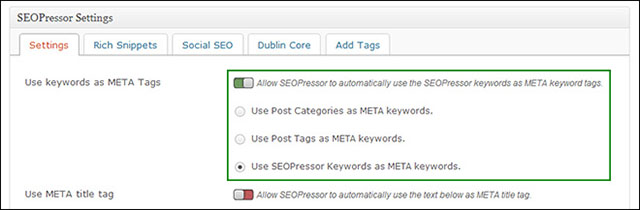
You can opt to use “Post categories” or “Post tags” as keywords, but I’d recommend using “SEOPressor keywords” as META keywords as those are the most relevant to your article.
This is basically the 1-2 lines of snippet that shows up on search engine result pages underneath the page’s main title itself.
So this has to be clear, descriptive yet incredibly concise (under 160 characters) so that users know what they’re clicking into — use this opportunity to help you distinguish your site from the others in the results.
Not only does this boost SEO, but it also affects human behavior and click through rate so make sure to write a good description!
This is the part where you configure your meta description. Just click on the buttons to activate it.
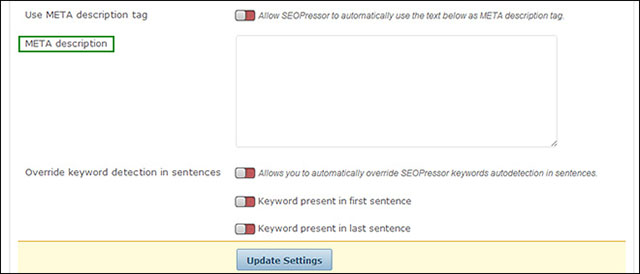
So in the same SEOPressor Settings section, type your description into the “META Description” box, and select “Allow SEOPressor to automatically use the text below as META Description tag.” It should look something like the screenshot below.

Once you’ve updated your settings and done all these, you should see your 2 red crosses turn to green for META content.
Update: If you are interested in learning more about Meta Description, we recently did a case study on the topic itself. You can read more about the case study here: https://seopressor.com/blog/secret-about-meta-description-that-improve-ctr/
While we’re still on the same page, how about I show you how to troubleshoot keyword detection?