Setting Up Local SEO
After analyzing and fixing your website errors, it is very important for you to setup Local SEO for your visitors to find you online.
But how should you set up Local SEO in SEOPressor Connect?
Easy.
Step 1: Go to the WordPress menu on your left, click ‘SEOPressor > Sitewide SEO.’

You will automatically be navigated to the Local SEO page.

Step 2: Fill in your Address details for customers so that they can know your postal and physical location.

Step 3: Click ‘Update’ once you’re done.

Step 4: Go to the next tab, Contact.

Step 5: Fill in your Contact details for customers to be able to reach you.

You can add more numbers if you would like to.
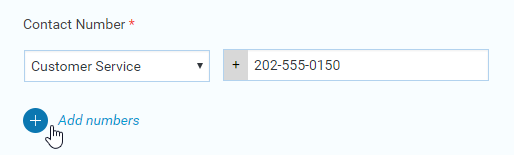
Just click Add numbers.

Step 6: Click ‘Update’ once you’re done.

Step 7: Go to the next tab, Operating Hours to fill in your business hours so that your customers know when they can drop by.

Step 8: Choose your Operating Hours.
However, this is optional.

Step 9: Click ‘Update’ once you’re done.

Step 10: Go to the last tab of Local SEO, Publish Local SEO.
This is where you can check if everything is completed.
In our example, everything is checked.

However, if you have forgotten to fill in any of the details, you will see something like this:
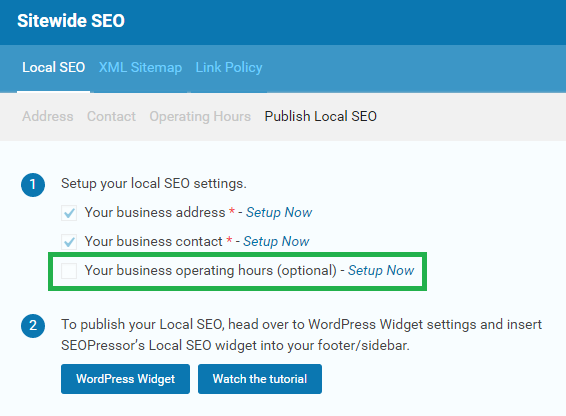
One of the settings is unchecked.
Step 11: Click ‘Setup Now’ to key in the details.

Step 12: Select your Operating Hours.

Last Step: When you’re done, go to the Publish Local SEO tab again, and you will see that it is checked.

Now that we’re done setting up the Local SEO, you’re ready to publish it.
Step 1: Click ‘WordPress Widget’.

You will be directed to ‘Appearance > Widgets‘.

Step 2: From there, look for ‘SEOPressor: Local SEO’ and drag it.

Step 3: Drag ‘SEOPressor: Local SEO’ to the Widget Area.

You can change the Title if you want to or just leave it as Local SEO.
Last Step: Once you’re done, click ‘Save’.

There you have it!
You have successfully inserted ‘SEOPressor: Local SEO‘ into the WordPress Widget.

But where do we see the published Local SEO?
To see your Local SEO, go to your WordPress Dashboard. Click ‘View your site‘.

On the left column of your website, you will see your business details that you have filled in on Local SEO. (Your layout may put the widget on the right.)

That’s all you need to set up your Local SEO. You should now get better exposure for your business.
If you need any further assistance, kindly contact our support team.
Next Tutorial: Setting Up XML Sitemap
Subscribe and receive exclusive insider tips and tricks on SEO.
Delivered to you right from the industry’s best SEO team.
Copyright © 2026 SEOPressor. All Rights Reserved.
Powered by Semantics BigData Analytics (SBDA).
