Setting Up Social SEO
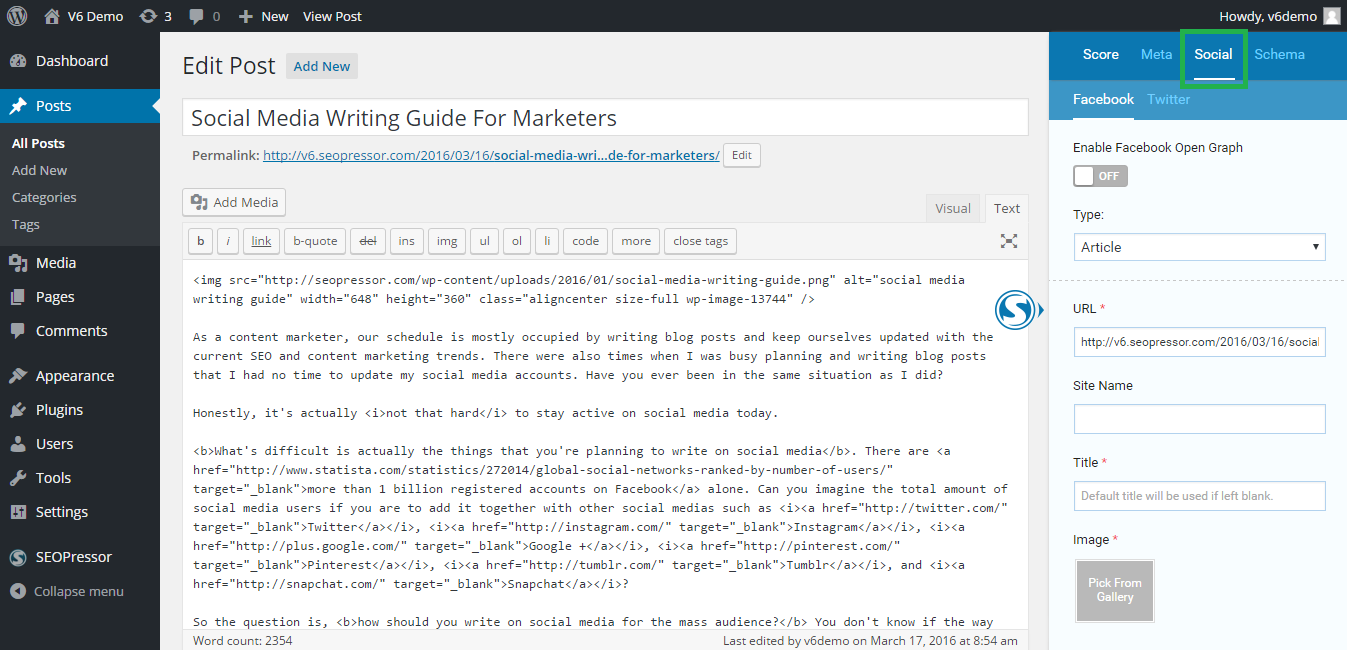
Previously, we have looked into SEOPressor On-Page Settings. Now, let’s have a closer look at how you can use the Social tab on SEOPressor.
Use the Social tab when you want to share your blog post on Facebook or Twitter.
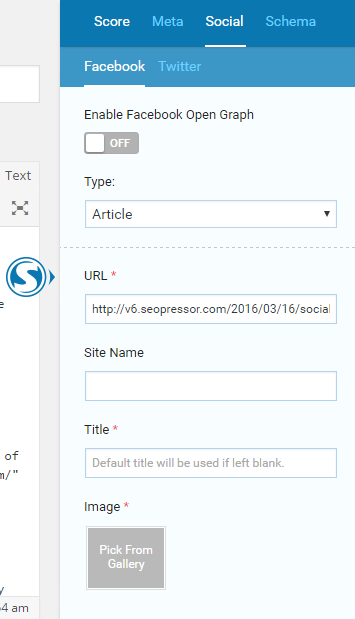
Step 1: Turn on the Facebook Open Graph to control how your blog post is shared on Facebook.
Facebook:
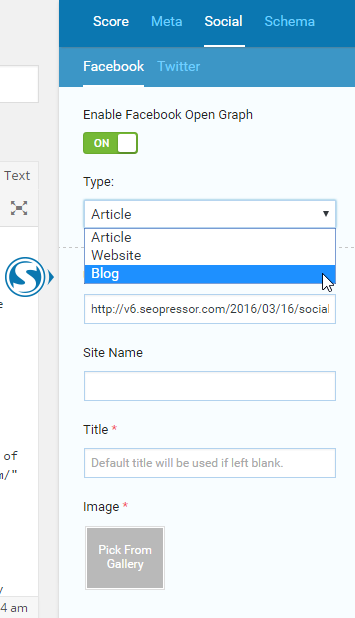
Step 2: After you turn it on, select the Type of your content.
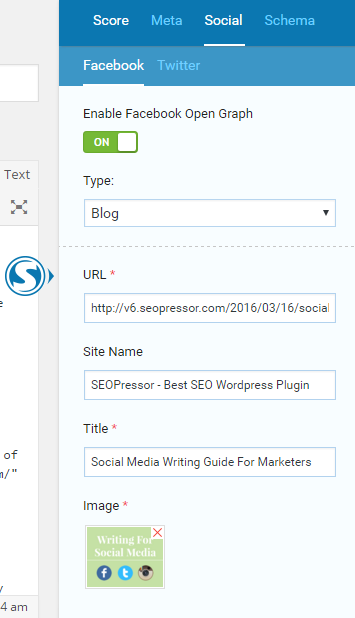
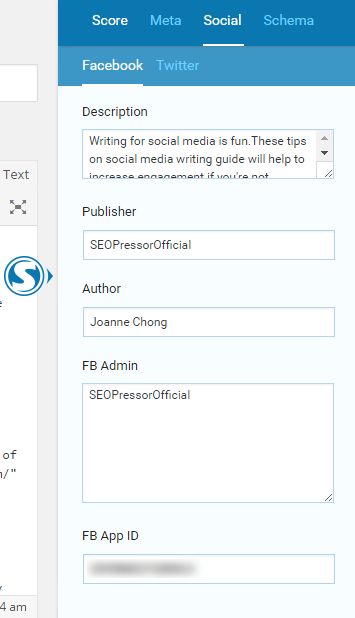
Step 3: Fill in your Site Name, Title, and choose the Image for your blog post.
Step 4: Fill in your Description, Publisher, Author, Facebook Admin, and Facebook App ID.
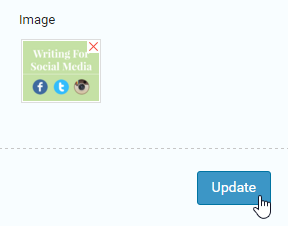
Last Step: Click ‘Update’ once you’re done.
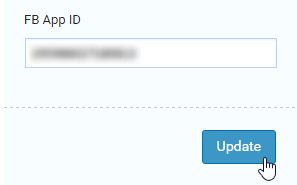
Note: Facebook App ID is not a mandatory field. If you’d like to create your Facebook App ID, you can visit the Facebook Developers site.
If you realized that this is not the title that you wanted to be shown on your Facebook, but you’ve clicked update, you can debug it on Facebook here.
Just like what we did on the Facebook tab…
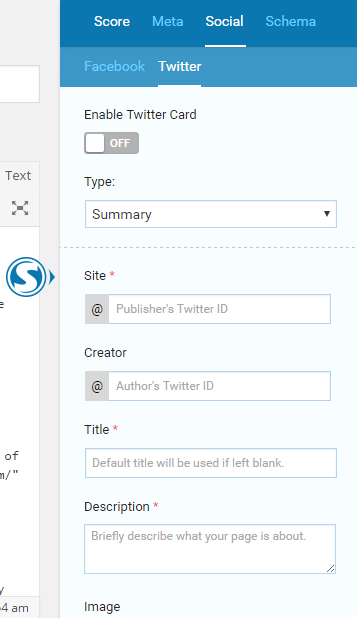
Step 1: Turn on the Twitter Knowledge Graph to control how your blog post is shared on Twitter.
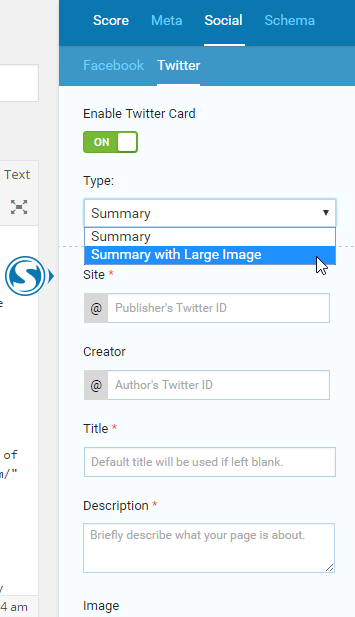
Step 2: Select the Type of your content. Choose whether you want to show only the Summary on Twitter or the Summary with Large Image.
Step 3: Fill in the Site, Creator, Title, Description, and choose the Image for your blog post.
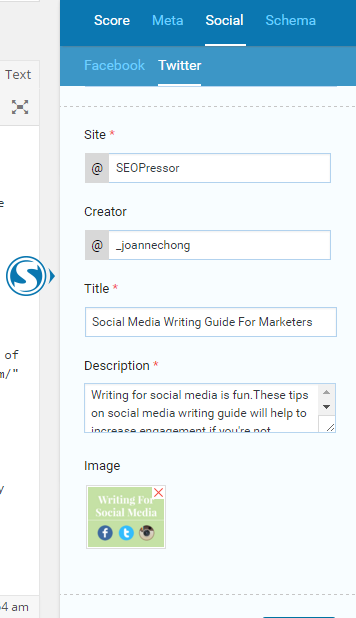
Last Step: Click ‘Update’ once you’re done.
Step 1: Click on the Sitewide SEO Tab.
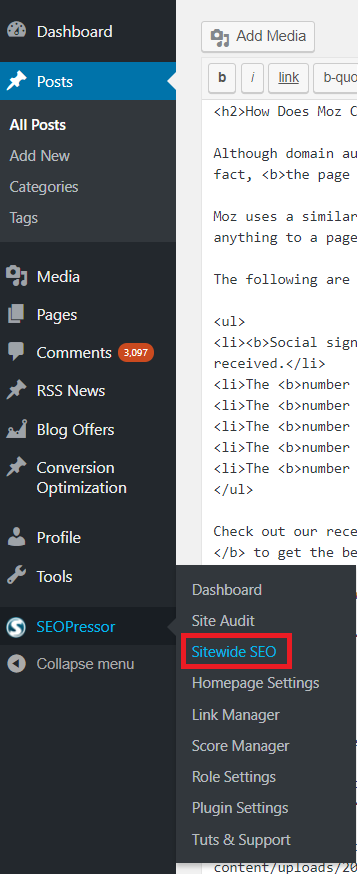
Step 2: Select the Default Social Settings Tab.
Step 3: Toggle Enable Sitewide Facebook Open Graph or Enable Twitter Card On or Off.
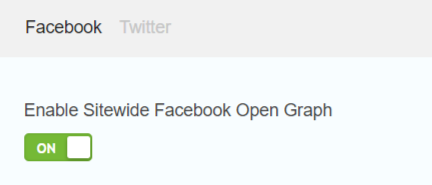
Step 3: Fill in the Information the Same Way You Would for Individual Post Social Settings.
Last Step: Click ‘Update’ once you’re done.
With these steps now complete, you can share your blog post on Facebook and Twitter anytime you want.
If you need any further assistance, kindly contact our support team.
Next Tutorial: Setting Up Schema and Dublin Core Markup
Subscribe and receive exclusive insider tips and tricks on SEO.
Delivered to you right from the industry’s best SEO team.
Copyright © 2026 SEOPressor. All Rights Reserved.
Powered by Semantics BigData Analytics (SBDA).
